If you’re an acoustic guitar player, you may have noticed that your strings are too high off the fretboard, making playing certain chords and notes difficult. This is known as having high action, a common issue many guitarists face. But don’t worry, there are several steps you can take to lower the action on your acoustic guitar and improve your playing experience.
In this blog post, I’ll walk you through adjusting the truss rod, filing down the saddle, and other techniques to achieve the perfect action for your acoustic guitar. So grab your tools and prepare to make some adjustments that will take your playing to the next level!
What is Guitar Action?
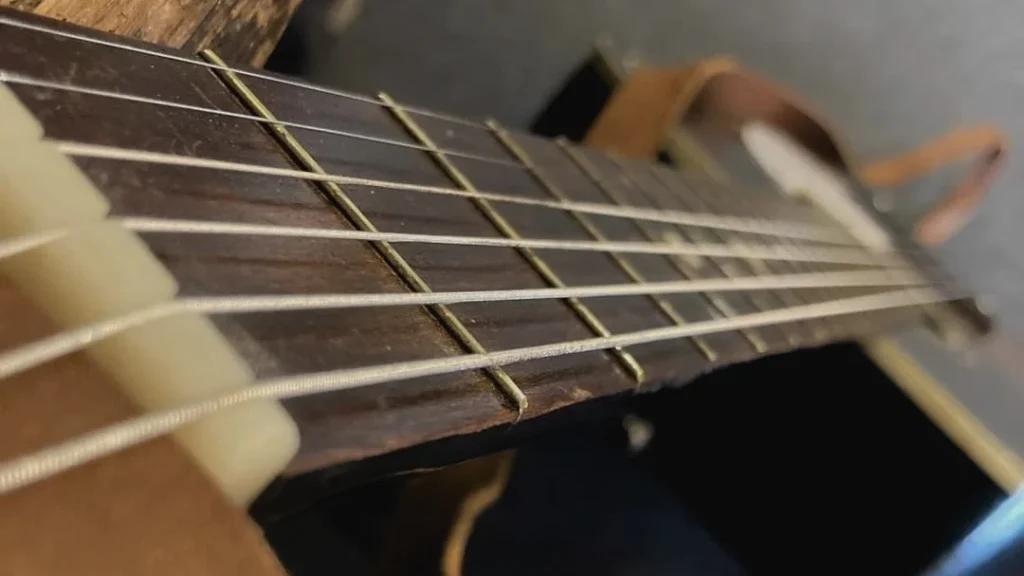
The distance between the strings and the fretboard is called guitar action. The distance between the strings and the fretboard is critical to how a guitar plays. If the action is excessively high, it will make holding the strings down and playing the guitar more difficult. If the action is too low, the strings will buzz, and the tone will suffer.
On the other hand, the action of a guitar is quite personal and varies based on the sort of music being performed. Some guitarists choose higher action because it matches their playing style.
For example, they may use a lot of string bending or attack the strings aided by higher action. Others require significantly lower action if they have a very light touch or are shredding and playing at high speed.
However, going too far to either extreme will produce problems. High action will make playing much more difficult and significantly slow you down. Too low action creates fret chatter, fretting out of notes, and a significant loss in sustain.
I prefer a lower action, but it is about determining what works best for you. It may take some trial and error and vary depending on the instrument. Still, you’ll eventually find what works best for your playing style.
Why does Acoustic guitar action become high?
Understanding guitar action requires knowledge of the things that influence it. Several factors can influence the motion of a guitar over time.
Humidity and Temperature
Acoustic guitars are highly sensitive to heat and humidity. If you’ve ever been to Guitar Center’s acoustic guitar section, essentially a six-string humidor, you know how seriously pros take these environmental concerns.
Acoustic guitars absorb moisture when exposed to excessive humidity, causing the wood to swell and expand. The guitar will lose moisture in extremely dry conditions, leaving the wood brittle and dry.
Sudden, extreme variations in temperature or humidity will wreak havoc on your guitar’s action. Still, even minor changes will cause your guitar’s action to vary over time.
String Tension Variations
Strings put a lot of strain on the neck of your guitar under normal conditions. This stress alone might have an effect on the action of your guitar over time. Many of us experiment with different gauge strings at some point.
You may copy a favorite guitarist with a different string gauge or experiment with a drop tuning that requires a thicker gauge. Whatever the reason, it’s crucial to understand that changing the gauge of your strings can result in too much relief or a back bow in the neck of your guitar.
Usage
Though we take them for granted, our guitars are constantly under stress. Guitars suffer from everyday wear and tear, eventually wearing down the saddle and nut. Once these critical components are compromised, your guitar’s action will also be.
How To Lower Action On An Acoustic Guitar?
Depending on what went wrong with your guitar’s movement, it may need to be fixed in multiple places. Most of the time, all it takes to fix a high or low motion is to move the truss rod on your guitar. Sometimes, though, it takes more. You may also need to change the guitar’s nut and bridge.
What You'll Need?
Remember that your bare hands cannot lower the motion of the guitar. As a result, if you want to lower the action on your guitar, you’ll need the following tools:
- Allen wrenches
Many acoustic guitars include a truss rod that may be adjusted through the soundhole or the headstock. Adjusting the truss rod with an appropriate-sized Allen wrench can aid neck comfort and overall action.
- Screwdriver
Some acoustic guitars have saddle height adjustment via screws or bolts. To modify the saddle height, you may need to use a screwdriver to remove or tighten these screws.
- Sandpaper Or Fret File
If the action needs to be lowered even further, you may need to adjust the saddle or the bottom of the bridge. Sandpaper or a fret file can be used to remove material from the saddle, allowing it to sit lower and reduce the action. To avoid removing too much material, use caution when utilizing this equipment.
- Feeler Gauges
Feeler gauges are small strips of metal used to measure the distance between the strings and the frets. They might aid in achieving the correct motion by ensuring consistent action height across the fretboard.
- String Height Gauge Or Ruler
A ruler or specialized string height gauge can measure the action at various positions along the fretboard. This allows you to keep track of the changes and ensure consistent action.
- Capo
A capo simulates finger pressure on the fret, allowing you to test and change the action while playing chords or individual notes.
- Guitar Tuner
A tuner is always useful for ensuring perfect intonation and pitch when altering the guitar’s action.
Step 1: Adjusting the Truss Rod
Always start by checking if the truss rod needs adjusting since it’s easiest to adjust on an acoustic guitar.
To adjust the truss rod, you must first understand what it is. Metal rods run along the length of a guitar’s neck. Adjustable and counteracting the tension exerted by the strings helps maintain neck stability and control neck curvature.
An instrument’s truss rod determines the string height and neck curvature by adjusting the rod. String tension is countered or released by adjusting the truss rod, resulting in relief in the neck and a height adjustment for the strings.
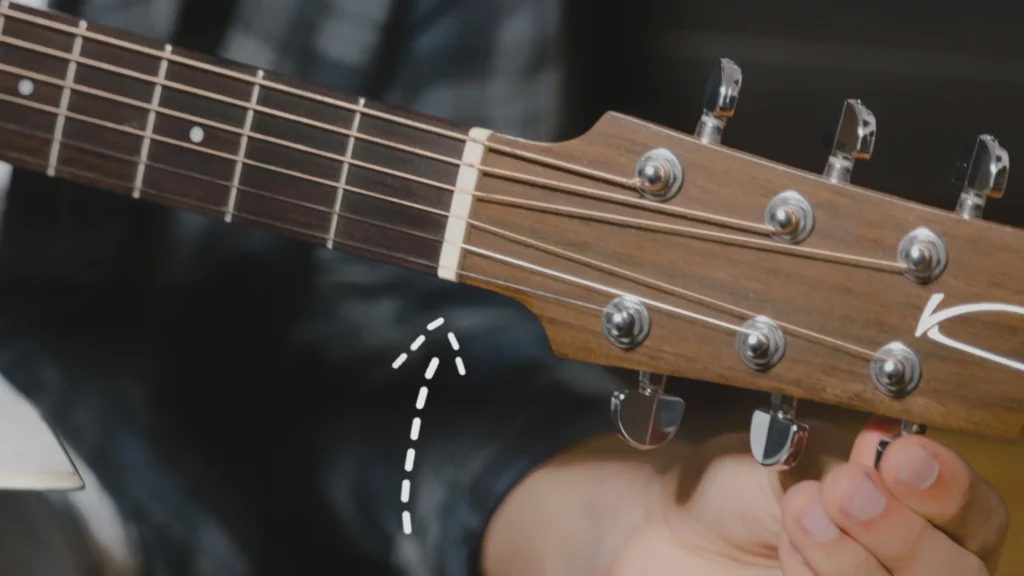
Adjusting the neck’s curvature is done by tightening or loosening the truss rod. A truss rod nut can be found inside the soundhole or on the headstock. You can adjust it with an Allen or truss rod wrench, usually hexagonal (hex) shaped.
How Can I Check If The Neck Of A Guitar Is Straight?
It is important to check the guitar neck’s straightness before adjusting the truss rod. There are various options to do it:
- Visual inspection
When holding the guitar in a playing position, look down the length of the neck. Focus on the alignment of the fretboard and observe if it appears straight or if it appears curved or curved. It can provide a general indication but may not disclose subtle issues.
- Fretting technique
You should press down the strings simultaneously at the first and last fret, using your thumb and pinky finger. Watch the gap between strings and frets around the neck’s middle.
The neck is likely straight if the gap is consistent. There may be excessive relief if gaps in the center of the strings touch the frets. There may be excessive back-bow if there is a large gap between the strings and the frets.
Instead of using a long ruler, you can press the string down from the 1st fret to the 15th fret and then press the 15th fret directly into the neck. The truss rod needs to be adjusted if there is a gap between the fret and string. Tap tests are also used to test neck relief.
- Using a straightedge or ruler
Line up the guitar’s frets with a straightedge (such as a metal ruler or specialized straightedge tool). Extend the ruler towards the body, checking for gaps between the ruler and the frets. If the ruler contacts several frets without any gaps, the neck is rather simple. If the ruler touches multiple frets without gaps, the neck is fairly straightforward.
How To Adjust The Truss Rod Correctly?
It is highly recommended that you ask a guitar technician to adjust your guitar’s truss rod if you are a newbie. The following tips will help you adjust the truss rod correctly if you are confident in your abilities:
Understand The Direction
Increasing the truss rod tension (righty-tighty) reduces the neck’s relief or creates a back bow. If you turn it counterclockwise (lefty-loosey), the truss rod is loosened, increasing the neck’s relief or allowing it to curve more.
Make Small Adjustments
Consider making minor quarter-turn adjustments first, then evaluating the results. Adjustments allow the wood to adapt to the new tension, preventing overcompensation gradually.
Give It Time To Settle
Allow the guitar to settle after each adjustment. It may take hours or even days for neck relief to fully manifest. Keep an eye on the guitar’s playability over time to determine if any adjustments need to be made.
A truss rod adjustment is one of the simplest ways to lower your guitar’s action, so it should be done carefully and appropriately to avoid damaging the instrument.
Step 2: Adjusting the Nut
Guitar nuts are little rectangular components located on the top of guitar necks. Acoustic guitar nut is often constructed of bone or plastic. The slots or grooves in the nut are where the strings rest, defining their spacing and height above the fretboard.
It aids in the maintenance of proper string alignment, spacing, and tension, which contributes to accurate intonation and playability.
The guitar nut is critical in determining string height at the first fret. The strings will be lifted if the nut slots are too high, resulting in higher string height and perhaps causing intonation and playability concerns. The ideal string height at the first fret is ensured by properly filing or modifying the nut slots for pleasant and accurate playing.
How To Check The Action At The Nut?
First, check the guitar’s current action at the nut with a feeler gauge or a capo before adjusting the nut.
Using a feeler gauge:
- To relieve tension, detune the strings slightly.
- On top of the first fret, place the appropriate feeler gauge, typically 0.010-0.020 inches (0.25-0.50mm).
- Keep the feeler gauge positioned while pressing the string at the third fret.
- Make sure the string gap between the second fret and the bottom of the string is manageable. At the nut, this gap represents the current action.
Using a capo:
- Just behind the desired string, place the capo on the first fret.
- At the third fret, press the string down.
- Look at the gap between the bottom of the string and the top of the second fret. The current nut action is indicated by this distance.
- Regardless of your method, you can determine if any adjustments are necessary to achieve the desired action by measuring the strings’ height at the nut. As each string may have a different measurement, make sure to measure them each individually.
How To Lower The Action At The Nut?
By filing or sanding the nut slots down, you can lower the action at the nut, but this requires precision and caution. Using a nut file or needle file, here’s a step-by-step guide:
- To relieve tension, begin by detuning the strings slightly. The nut slots can then be worked on more easily.
- Ensure the file you select matches the string gauge width, such as a nut or needle file. Make sure the file is clean and sharp for accurate and smooth filing.
- Follow the original slot angle when filing/sanding the bottom of each nut slot. To remove material evenly, file/sand in a back-and-forth motion. When filing or sanding the nut slots, make gradual and light passes. Making multiple passes is better than removing too much material at a time.
- After each filing or sanding pass, tune the strings and assess the action at the nut. Monitoring the progress allows you to stay within a reasonable distance. If necessary, removing more material is easier than adding it back.
- Using fine sandpaper or a small file, smooth the nut slots after achieving the desired action. Keeping the strings free of rough edges and catches ensures the strings move freely.
Step 3: Adjusting the Saddle
A guitar saddle is a small piece of bone, plastic, or metal attached to the bridge. It helps hold the strings in place and tune them correctly.
The height of the strings at the bridge can be changed by moving the saddle. Raising or lowering the saddle changes the action or string height, which can affect how easy the instrument is to play, how it sounds, and how it’s tuned.
How To Check The Action At The Saddle?
Instead of making changes right away, check the movement of the acoustic guitar’s saddle to see if it needs to be changed by doing the following:
- Loosen up the knots.
- Put a ruler or string action gauge on top of the 12th fret.
- Press the first and fourteenth frets down.
- Find out how far the bottom of the scale or gauge is from the top of the sixth string.
- Take note of the millimeters or inches.
- Do this again for the first string.
- Measurements can be compared to rules or opinions. (For acoustic guitars, the low E string at the 12th fret usually has a 2.4mm to 2.8mm range.)
- Change the height of the seat if you need to.
- Check the move again after making changes.
How To Lower Action At The Saddle?
You can lower the motion at the saddle by doing the following:
- Turn the tuning pegs to make the strings less tight.
- With pliers, slowly lift the saddle up and out of the slot in the bridge.
- Put the coarse side of the sandpaper on a flat surface and rub the bottom of the saddle evenly to get rid of the material.
- Put the saddle back into the hole on the bridge.
- Adjust the pitch of the strings and check the movement. If you need to make more changes, repeat steps 4 through 5, gradually removing material.
Final Words On How To Lower Action On Acoustic Guitar
To get the most out of playing your acoustic guitar, you need to get the motion just right. Some chords and notes can be hard to play when the action is too high. You can take a few steps to lower the action of your guitar and make it easier to play.
By adjusting the truss rod, filing down the saddle, and using the other tips in this blog post, you’ll be well on your way to giving your acoustic guitar the right movement. So don’t wait to get your tools and start improving the movement of your guitar right away. Have a good time!
FAQs
How To Raise The Action On an Acoustic Guitar?
To raise the action on your acoustic guitar, follow the same steps as when you lower it, but turn the truss adjustment the other way. A worn saddle or nut can cause your guitar’s action to be too low. Replace them if necessary.
Does A Lower Action Make A Guitar Easier To Play?
Yes. Most of the time, it’s easier to play a guitar with a smaller action because it takes less force to finger each note or chord. Some types of guitar playing, like slide guitar, can benefit from a slightly higher motion.
Does Higher Action Give A Better Tone?
In general, acoustic guitars with bigger actions make tones more resonant and full. This is because there is more room for the strings to move. If a guitar’s action is too high, the amount of pressure needed to finger a note can cause too much strain on the strings, making the note sound out of tune.
I want to buy the cheapest and good quality electric guitar with many frets, like 24 or more frets along with tremolo. Kindly suggest me.
These two electric guitars are the best for you
Ibanez GRGM Electric Guitar
Donner DMT-100 Electric Guitar
I confirm. So happens. We can communicate on this theme.